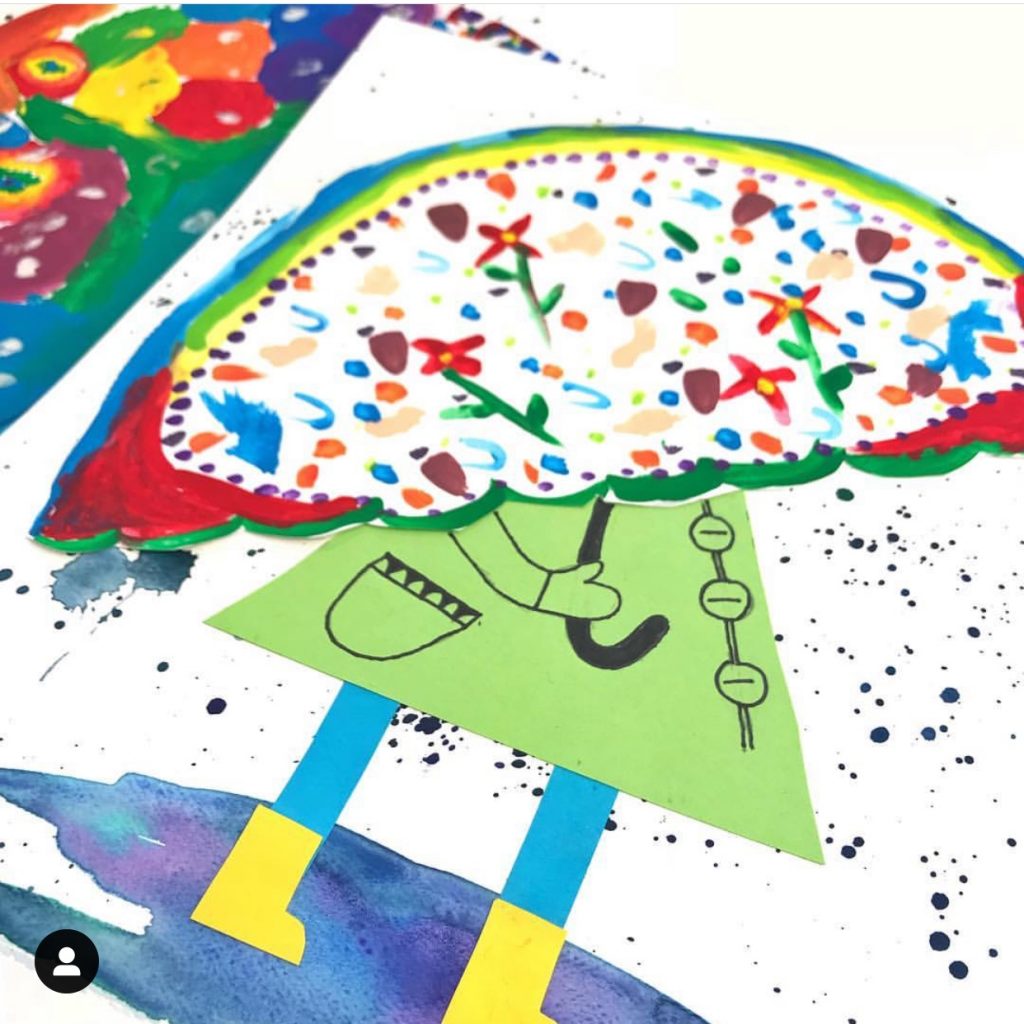
Spring is right around the corner, and those snowmen hanging on your classroom walls are probably starting to make you feel a little antsy to leave winter behind. This umbrella art project is the perfect way to freshen up your classroom as you welcome little rain drops and sprouting flowers to your school days.
I discovered this project on Pinterest a few years ago. Those pins simply link to digital student art portfolios from a classroom in Maryland, so I thought I’d take a moment to share the steps my students followed to recreate this spring favorite.
This post contains affiliate links for which I may make a small commission at no extra cost to you should you make a purchase.

On the first day of this two-day project, my students each design a unique umbrella using cardstock paper and tempera paint (affiliate link). Here are the steps students follow:
On the second day of this project, my students create a rainy-day background and a person with a raincoat and rain boots. I recommend having them paint their background first so it can quickly dry while they cut their pieces for the coat and boots.
While the background dries, have students select different shades of construction paper to create their rain coat and boots.
Once the background has dried, have students gather a pair a scissors, a glue stick, and a thin felt tip pen so they can assemble their project, and add finishing touches.
I hope you and your students enjoy this project as much as I do each year. If you’d like to see a video tutorial version of the steps written above, check out my Instagram story highlight here.
This post contains Amazon Affiliate links to make it easier for you find the art supplies shared in this post. To see all my favorite Amazon finds, visit my Amazon Influencer page here.

I’ve been an elementary teacher for ten years, and love sharing tips and resources that make differentiated learning more manageable for you. Thank you for visiting.
Learn More
Dropping by with weekly tips, classroom strategies, and free content created with you in mind.
Join me and other 2nd through 4th grade educators in the Teaching with Core Inspiration Facebook Group. This is a place to collaborate, ask questions, and learn how teachers like you are using Core Inspiration resources in their classrooms. Hope to see you there!
© 2024 Core Inspiration ∙ Website by KristenDoyle.co